Springtime Butterfly Wedding Invitations
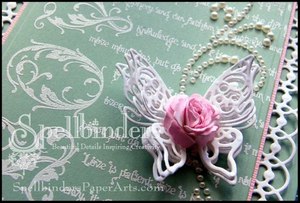
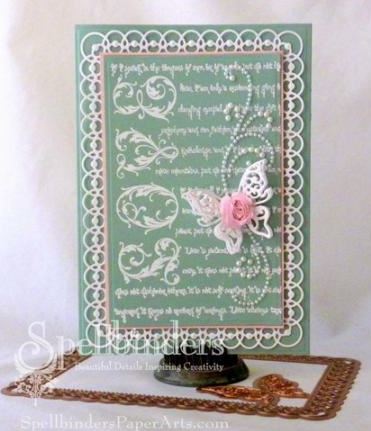
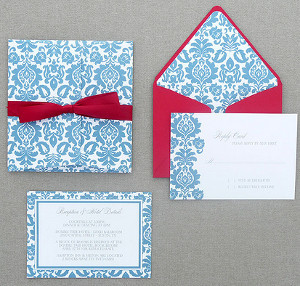
 You can practically smell the honeysuckle just looking at these beautiful Springtime Butterfly Wedding Invitations. Even the intricate pink butterfly on the front is dotted with a precious rose. The font on the front is lovely and floral, and the cards are bordered with a lovely, lacy pattern. Brides with an eye for detail and gorgeousness will love this wedding cards design, and ladies who love to work with their hands and show their guests that they care will enjoy the process of making these wedding invitations almost as much as the outcome.
Time to Complete: In an evening

Occasion/Theme: Spring
Spellbinders Materials:
- 5 x 7 Detailed Scallops
- A-2 Matting Basics A
- A-2 Matting Basics B
- Les Papillions Two
- Bitty Blossoms
Other Materials:
- Heartfelt Creations™ - Timeless Armour Background PreCut
- Want2Scrap© - Swirls Finesse
- Scissors
- Wax Paper
- Scrap Dots
- Heat Gun
- Pink card
Instructions
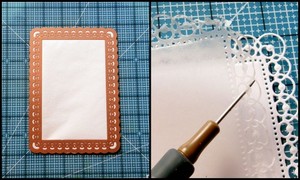
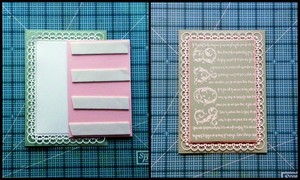
1. Start by cutting one (1) 5 x 7 Detailed Scallops Spellbinders Nestabilities using white card. Add wax paper between the Die and the card (wax side up) to make it easier to remove the fine detail on this filigree die. Remove the wax paper using a paper piercing tool as shown below.
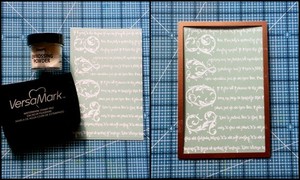
2. Stamp the Heartfelt Creations™ - Crafts®/Tsukineko® VersaMark™ Watermark Ink and IMAGINE Crafts® Embossing Powder™ in white. Next the embossed stamped image using the 5 x 7 Matting Basics B #5 Spellbinders Nestabilities - remembering that Spellbinders number their Dies from the smallest to the largest - #1 being the smallest.
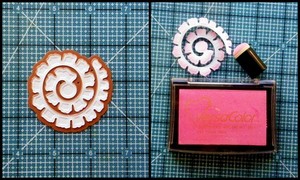
3. Cut and emboss one (1) Bitty Blossoms using the #2 Die and sponge around the edges usingIMAGINE Crafts®/Tsukineko® VersaMagic™ Chalk Pigment Ink
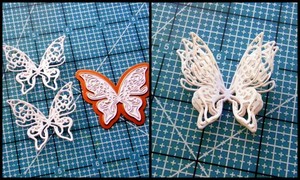
4. Cut three (3) Les Papillions Two Spellbinders® Shapeabilities® butterflies using white card and wax paper. Glue the three butterflies together, applying glue to the body so the wings can still be popped up. I have used Scrap Dots between the wings to give dimension.
5. Cut pink card slightly larger than the embossed sentiment, to give a narrow border. Adhere to thestamped Die Cut image using Scor-Pal® - 1/4" tape. Add foam tape to the back of the pink card and pop up onto the 5 x 7 Detailed Scallops Die, as shown in the photo below.
6. Add the Want2Scrap© - Swirls Finesse - LeCreme along the left side of the stamped layer.
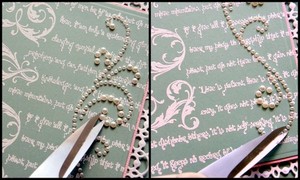
7. Glue the layered butterfly to the Want2Scrap© Swirl and adhere the Bittyusing Beacon Adhesives - Zip Dry
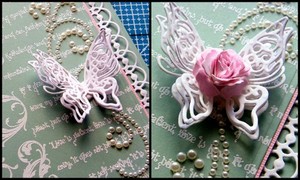
Here is a close up of the details - you can see the added dimension the extra layers give the butterfly.
